Features
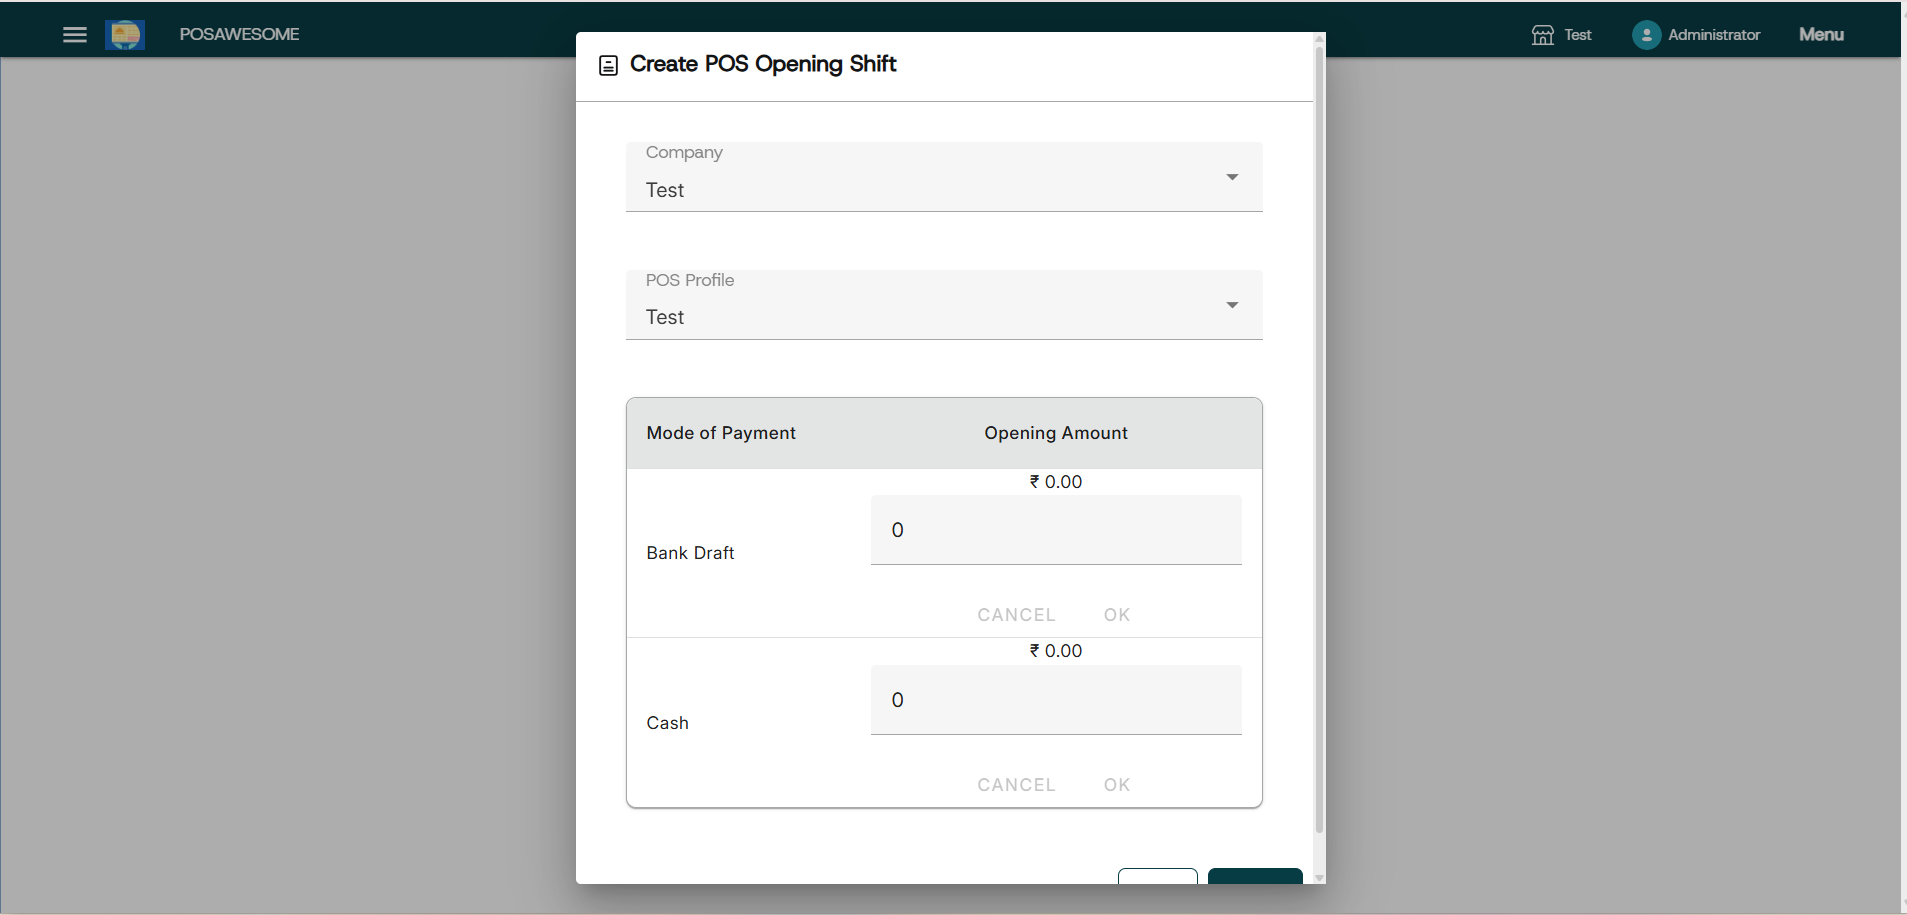
POS Awesome – Shift Opening
- Open the POS Awesome screen.
- Click on the Menu (☰) icon.
- Select “Open Shift” from the options.
- Enter the Opening Cash Balance (cash available at the start).
- Click “Start Shift” to begin the session.
- The system will now record all transactions under this shift.
Only users with proper POS permissions can open a shift.Opening cash is used to calculate cash difference during shift closing.
Creating a Sales Invoice in POS Awesome
- Go to POS Awesome and select a Customer.
- Add Items by clicking on them from the list on the right.
- Ensure the Item has a Selling Price set in the Item Price List.
- Edit Quantities as required.
- To edit Rate and Discount, enable these options in the POS Profile.
- Set a Default Warehouse in the POS Profile to complete the transaction.
- If Warehouse is set in both Item and POS Profile, POS Profile takes priority.
- Items must be available in the Warehouse to proceed with billing.
- A red dot appears next to the item if it is out of stock.
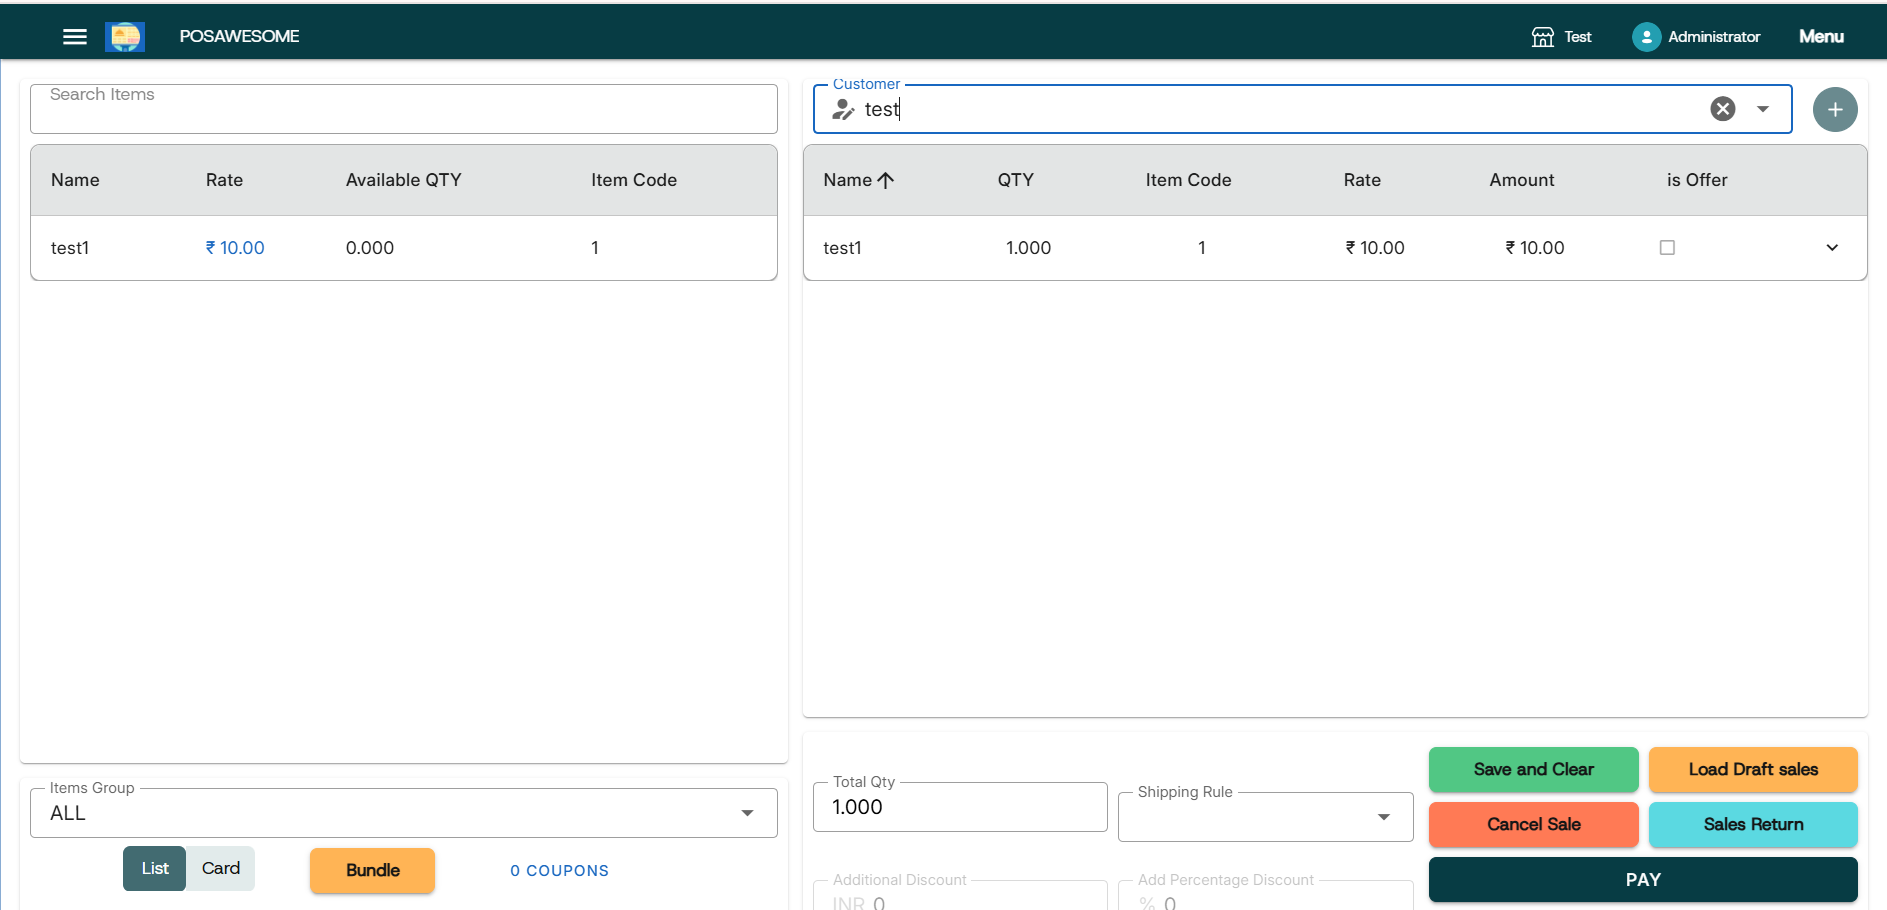
Adding an Item in POS Awesome
- Open POS Awesome from the dashboard.
- Click on the item from the item list displayed on the right side.
- Or scan the barcode or enter the item code in the search bar.
- The item will be automatically added to the cart.
- You can adjust quantity, rate, or discount if allowed in the POS Profile.
Removing Items from Cart
To remove an item:
- Click the minus (-) icon until the quantity reaches zero, or
- Set the quantity manually to zero to remove it.
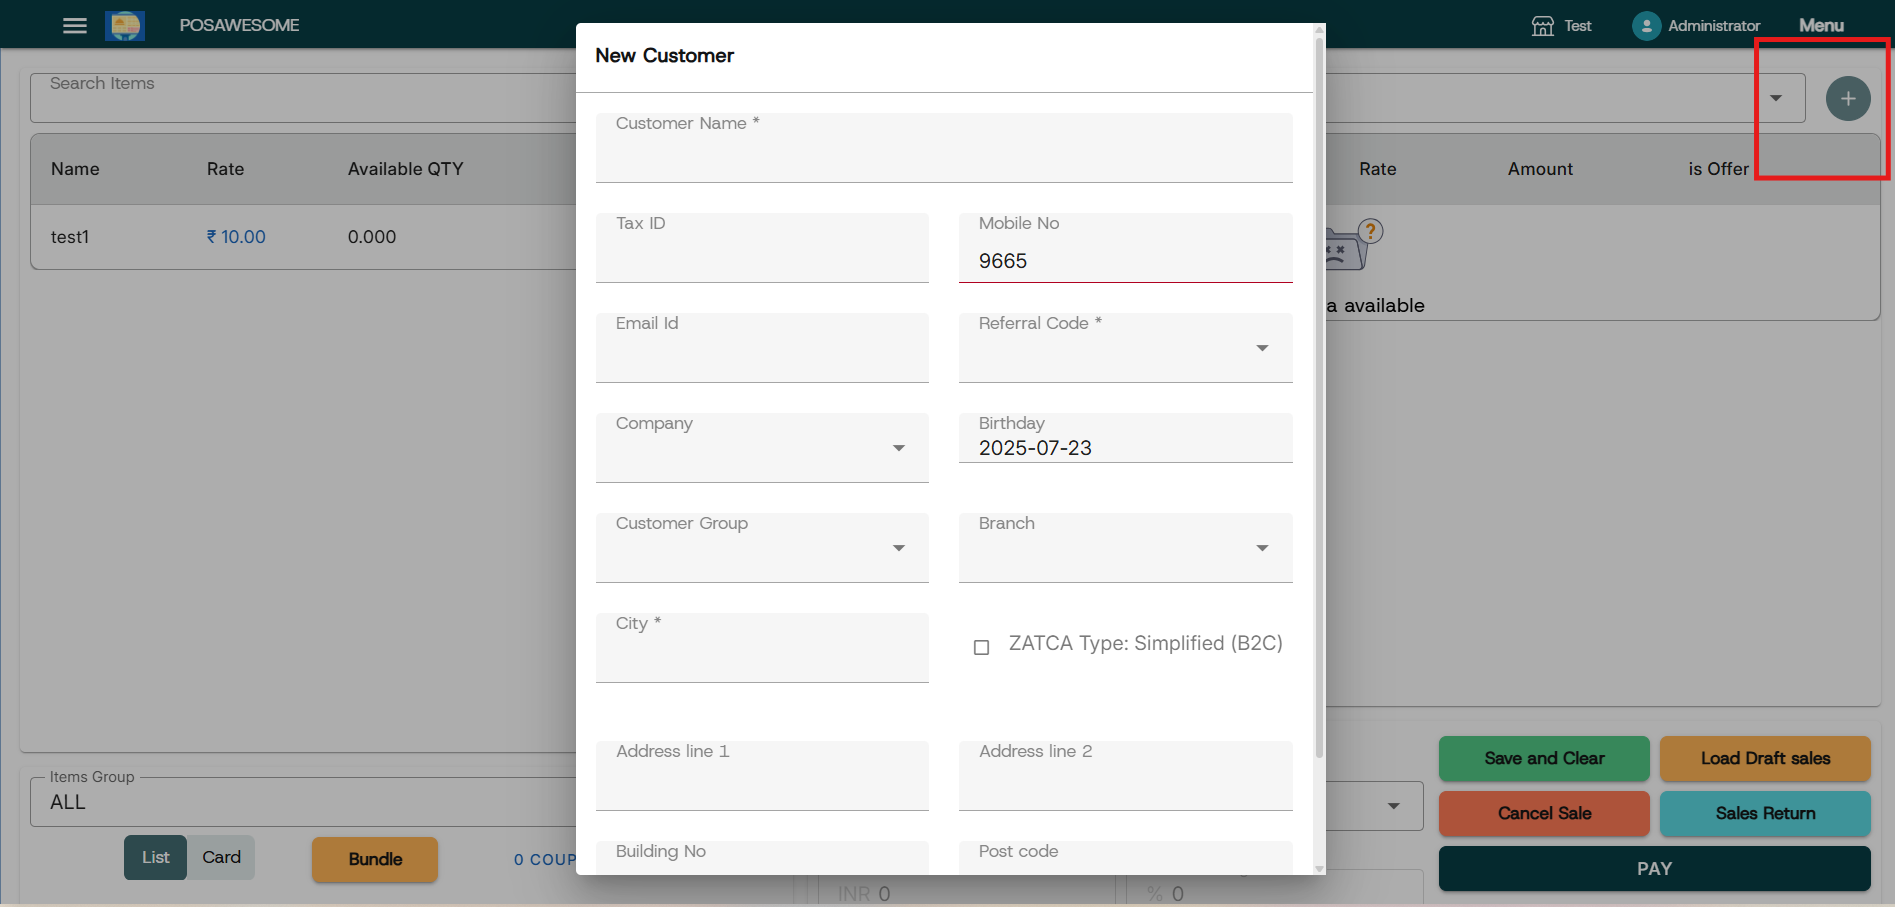
Adding a New Customer in POS Awesome
- Open POS Awesome and click on the Customer field.
- Click “Add New” or “+” icon to create a new customer.
- Enter the Customer Name.
- Fill in additional details like Contact Number and Address (optional).
- Click Save to add the customer.
- The new customer will be selected automatically for the current transaction.
- If working offline, the customer will sync once internet is available.
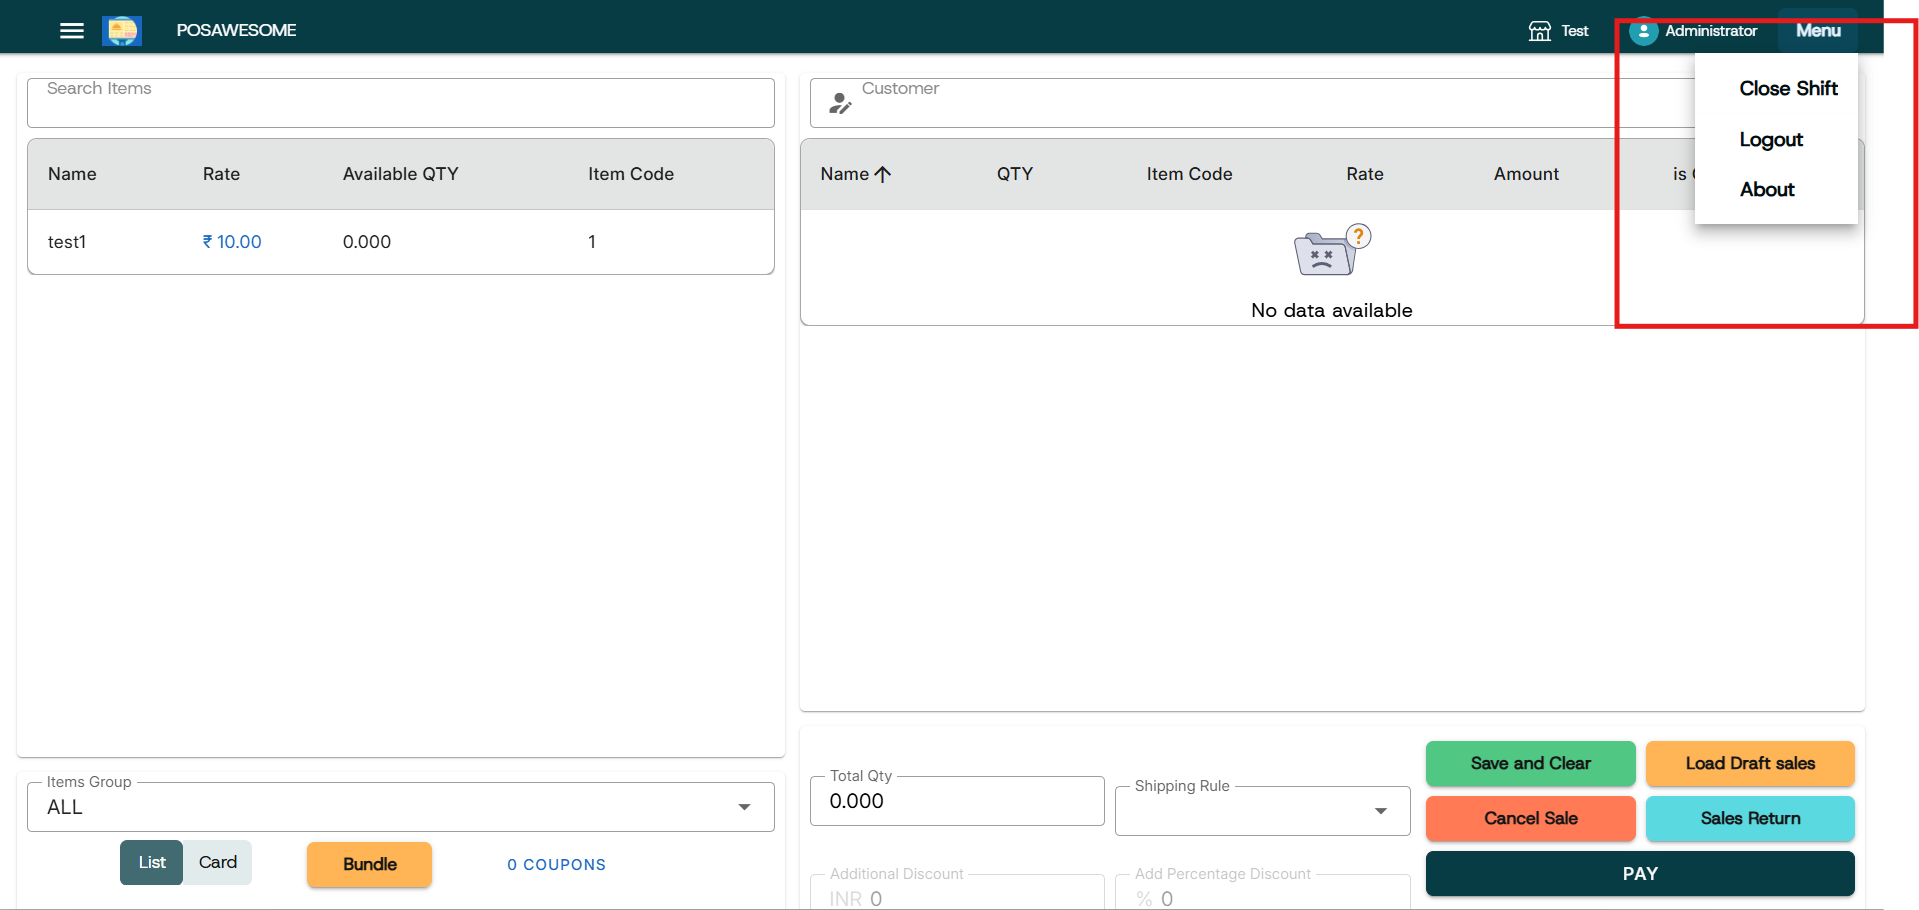
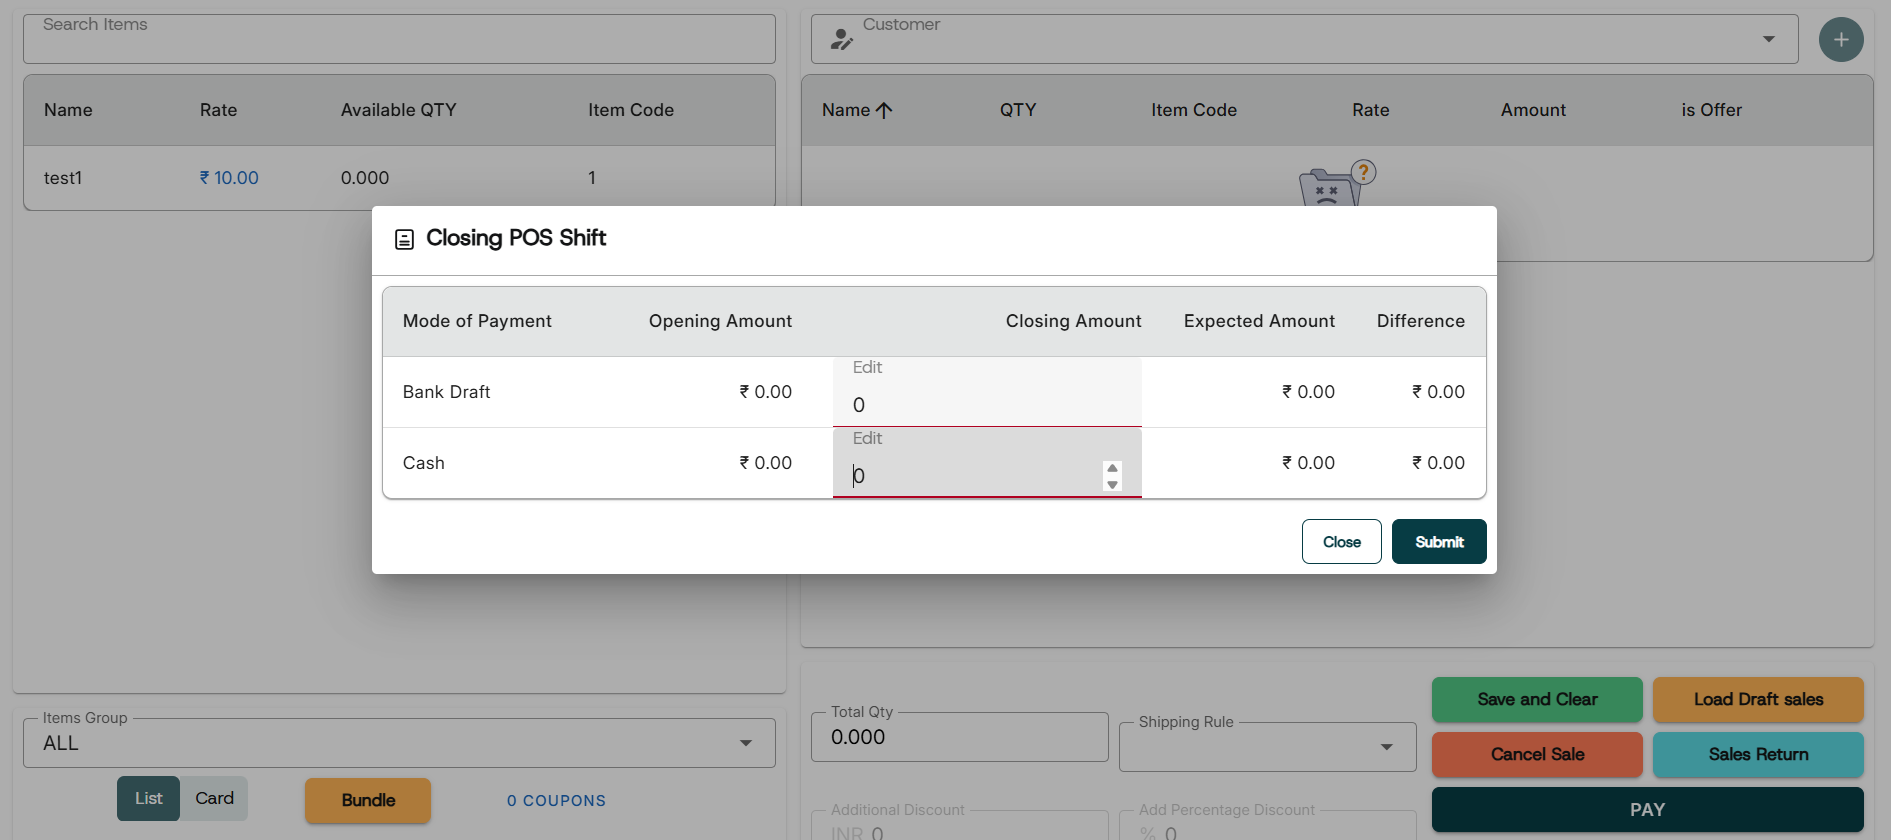
POS Awesome – Shift Closing
- Go to the Menu in POS Awesome.
- Click on “Close POS”.
- Verify the total sales amount and payment summary.
- Enter the Closing Cash Balance in hand.
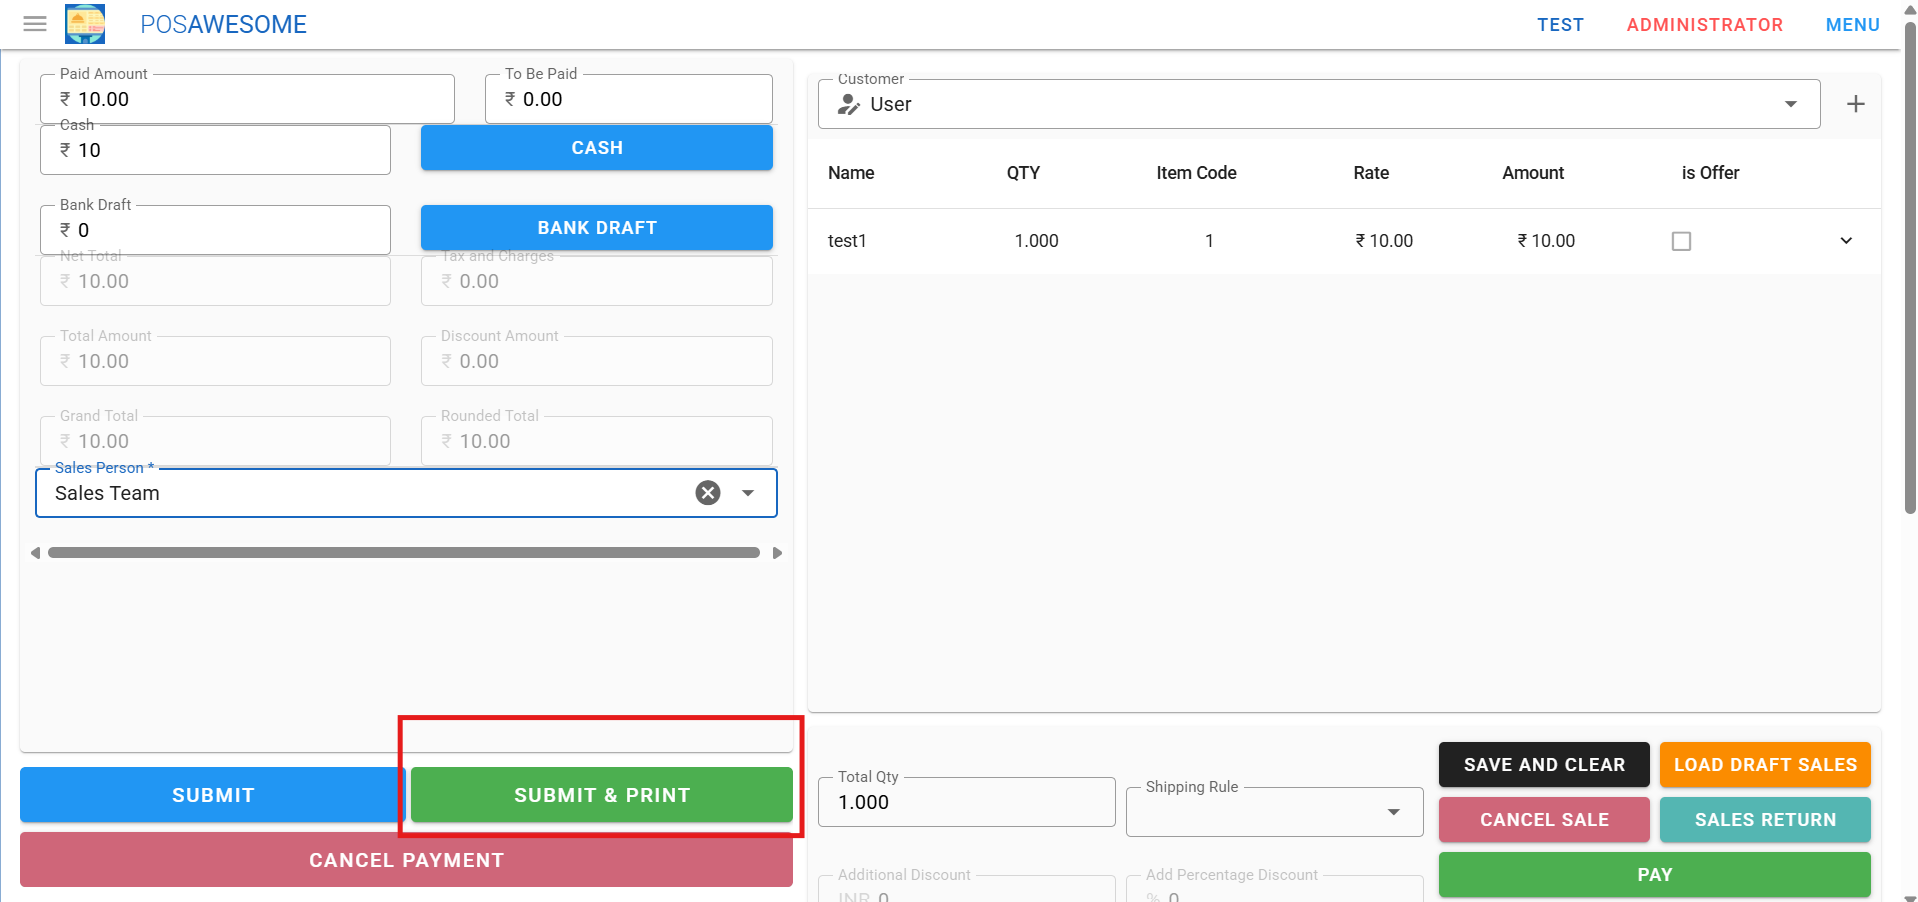
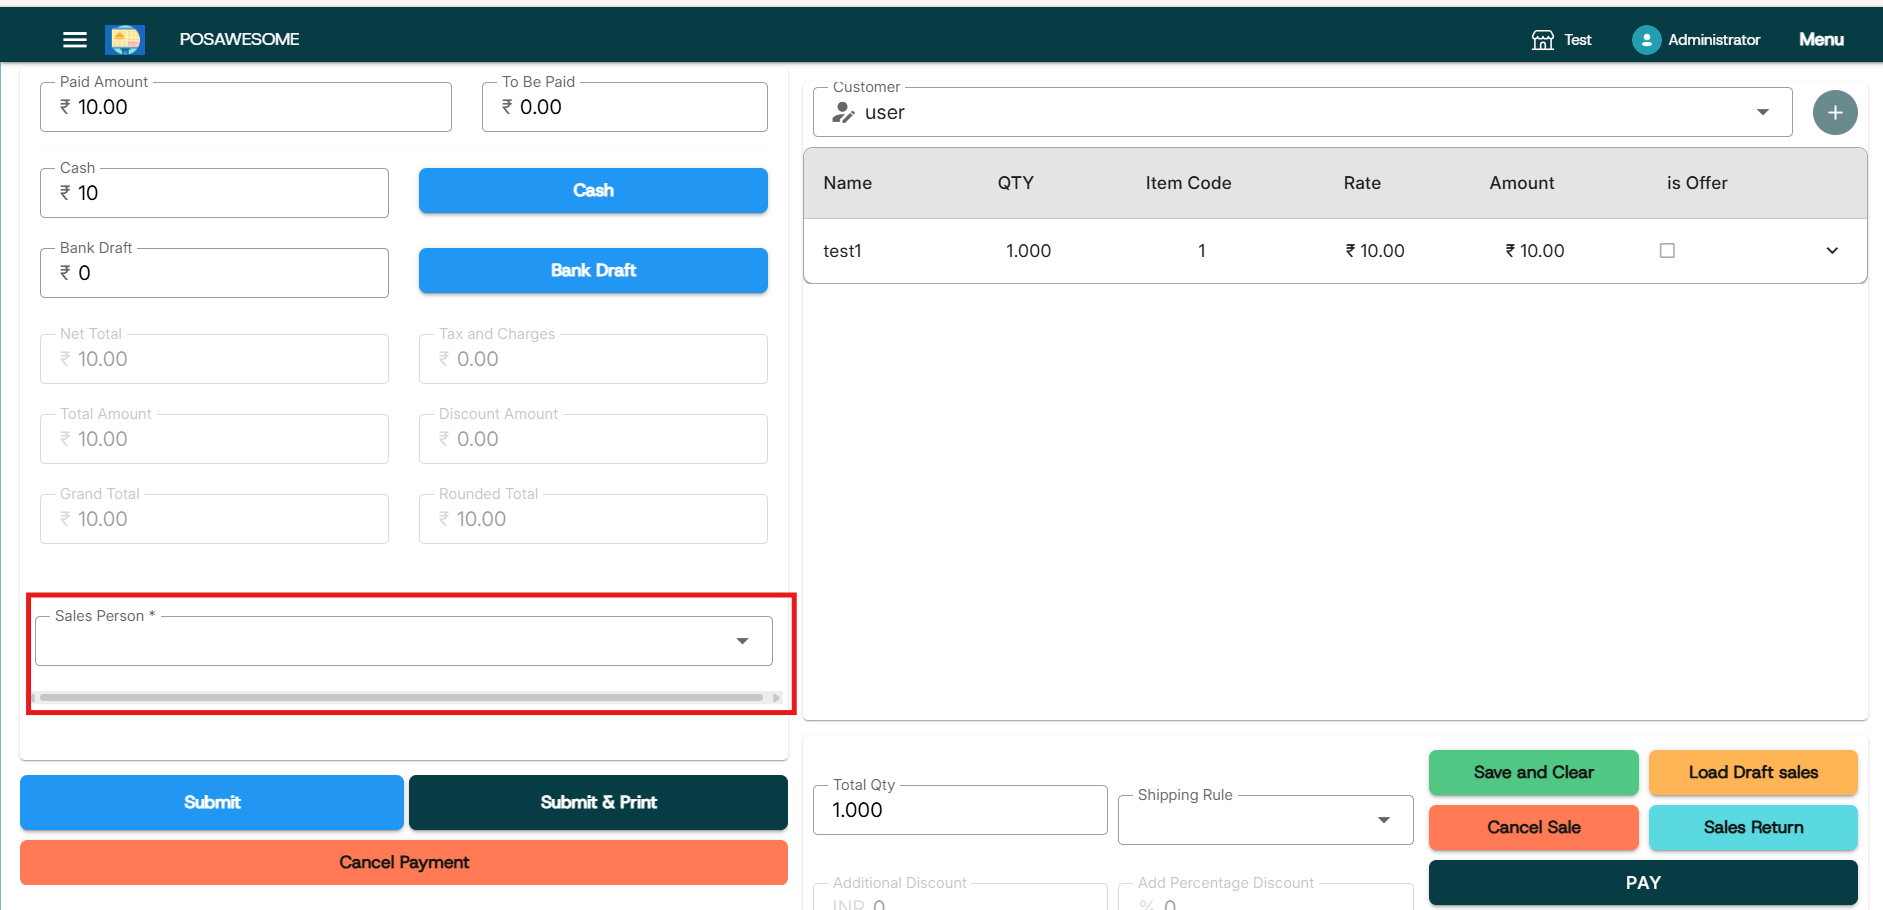
Assigning Sales Person in POS
In POS Awesome, you can assign a Sales Person to each transaction. First, make sure the "Sales Person" option is enabled in the POS Profile. When creating a sales invoice, select the customer and then choose the Sales Person from the available list. This helps track sales performance and calculate commissions accurately. The selected Sales Person will appear in the invoice and related reports.
Load & Submit Draft Invoice
This feature allows users to:
- Load a Draft Invoice:
- Submit the Invoice:
If a sales invoice was previously saved as a draft (not yet finalized or submitted), this option lets you retrieve or open that draft invoice in the POS. This is useful when you want to continue editing or reviewing an incomplete transaction.
After reviewing or updating the draft invoice, you can submit it to finalize the transaction. Submitting means the invoice is confirmed, posted to accounts, and treated as an official sale in the system.
Display Bundle Details
This feature shows the complete breakdown of items included in a bundled product directly in the POS interface. When a bundled item (also called a Product Bundle or Kit) is selected, the POS displays all the individual components that make up that bundle.
What It Helps With:
- Lets the cashier verify the contents of a bundle before billing.
- Ensures transparency with the customer — they know what’s included.
- Useful for inventory and packing purposes, especially in retail or wholesale.

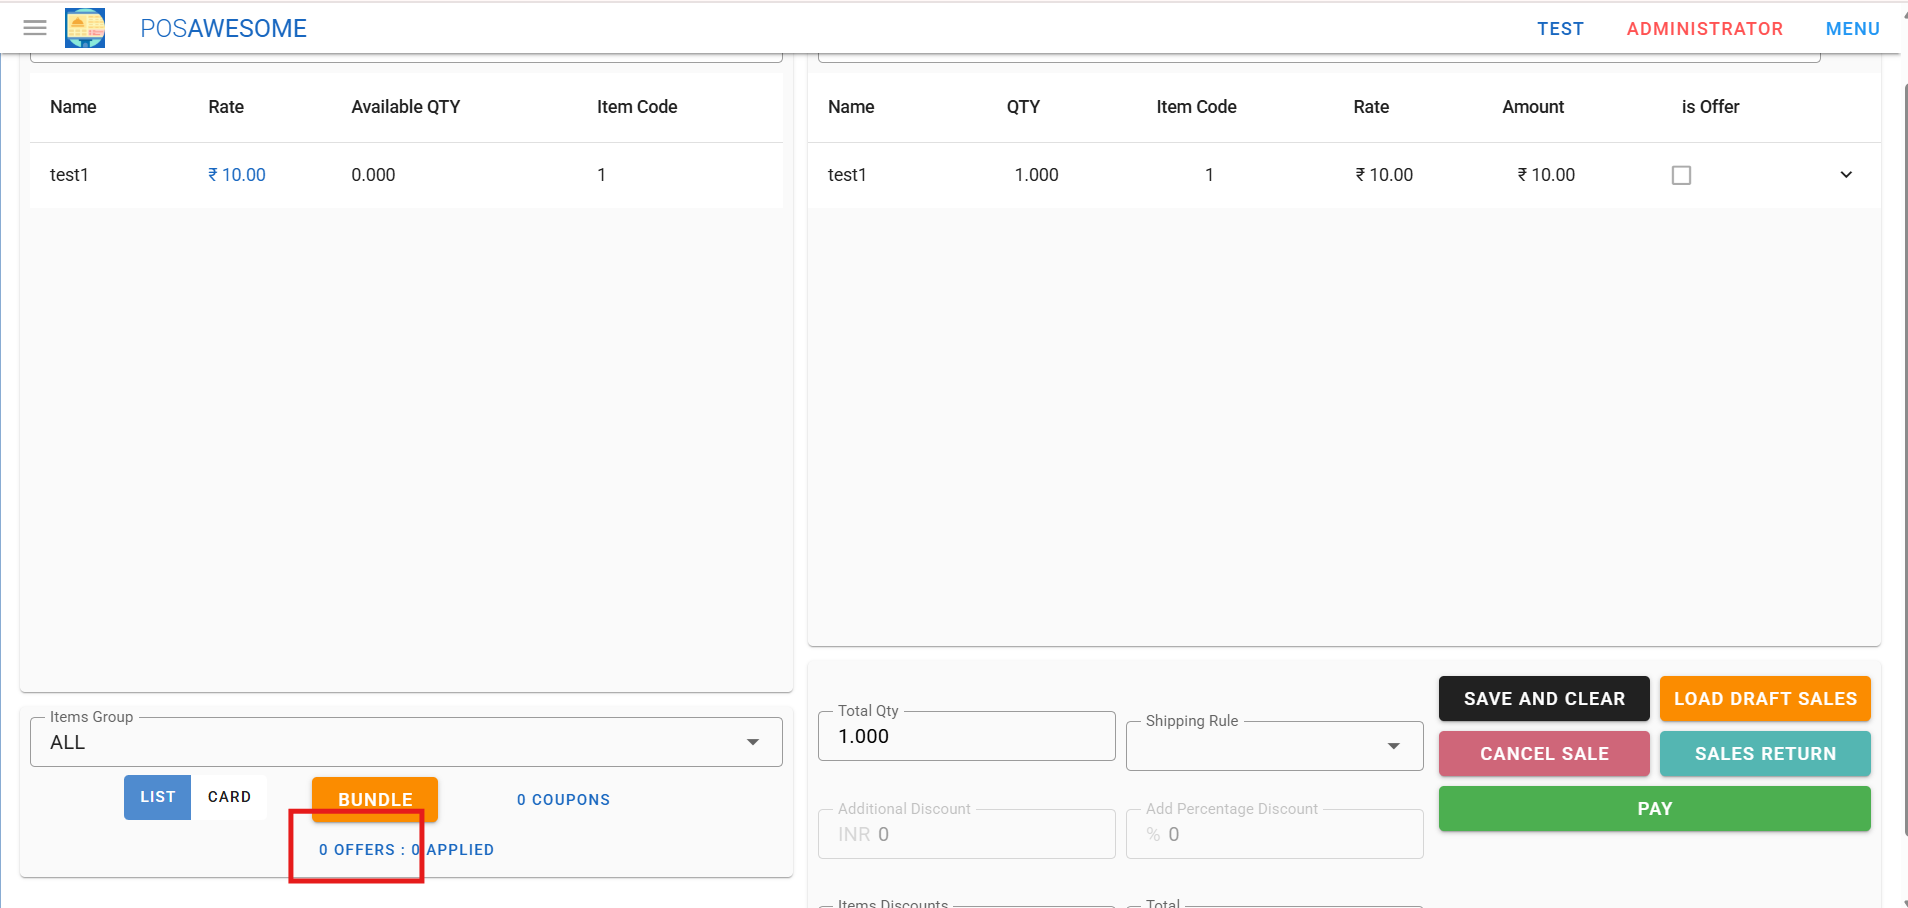
Viewing Offer Details
POS Awesome automatically displays available offers and discounts for selected items. When an item is added to the cart, any active promotions linked to it will be shown on the screen, helping the cashier apply the best deal instantly.
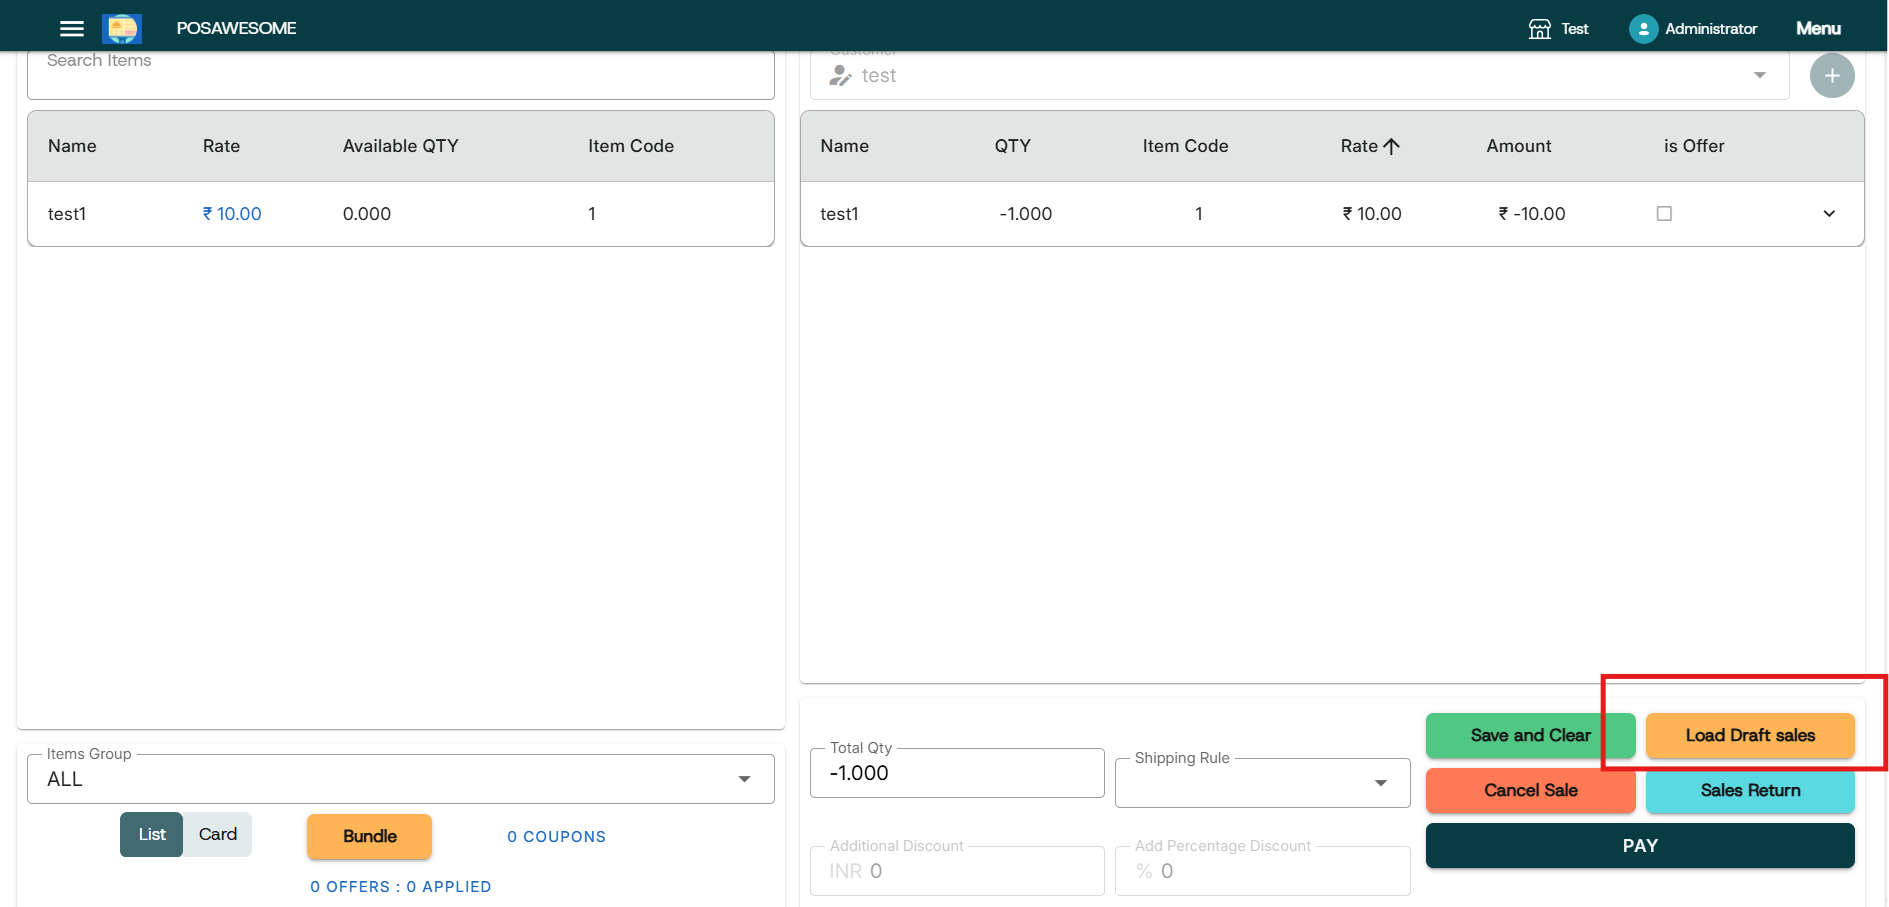
Processing Sales Returns
POS Awesome allows users to create return invoices for items sold. To process a return, select the original invoice or manually add the item with a negative quantity. The system will automatically calculate the refund amount, and you can choose the mode of refund—cash, credit note, or reversal of payment.

Print Invoice
This feature allows users to print a physical copy of the sales invoice directly from the POS screen after a transaction is completed. It’s especially useful for providing customers with a printed bill as proof of purchase.