ERPNext Server Configuration for Each Branch
To use GPos effectively across different branches, each location needs to be configured properly on the ERPNext server. This setup ensures branch-level tracking, user access control, ZATCA compliance, and smooth offline POS operation.
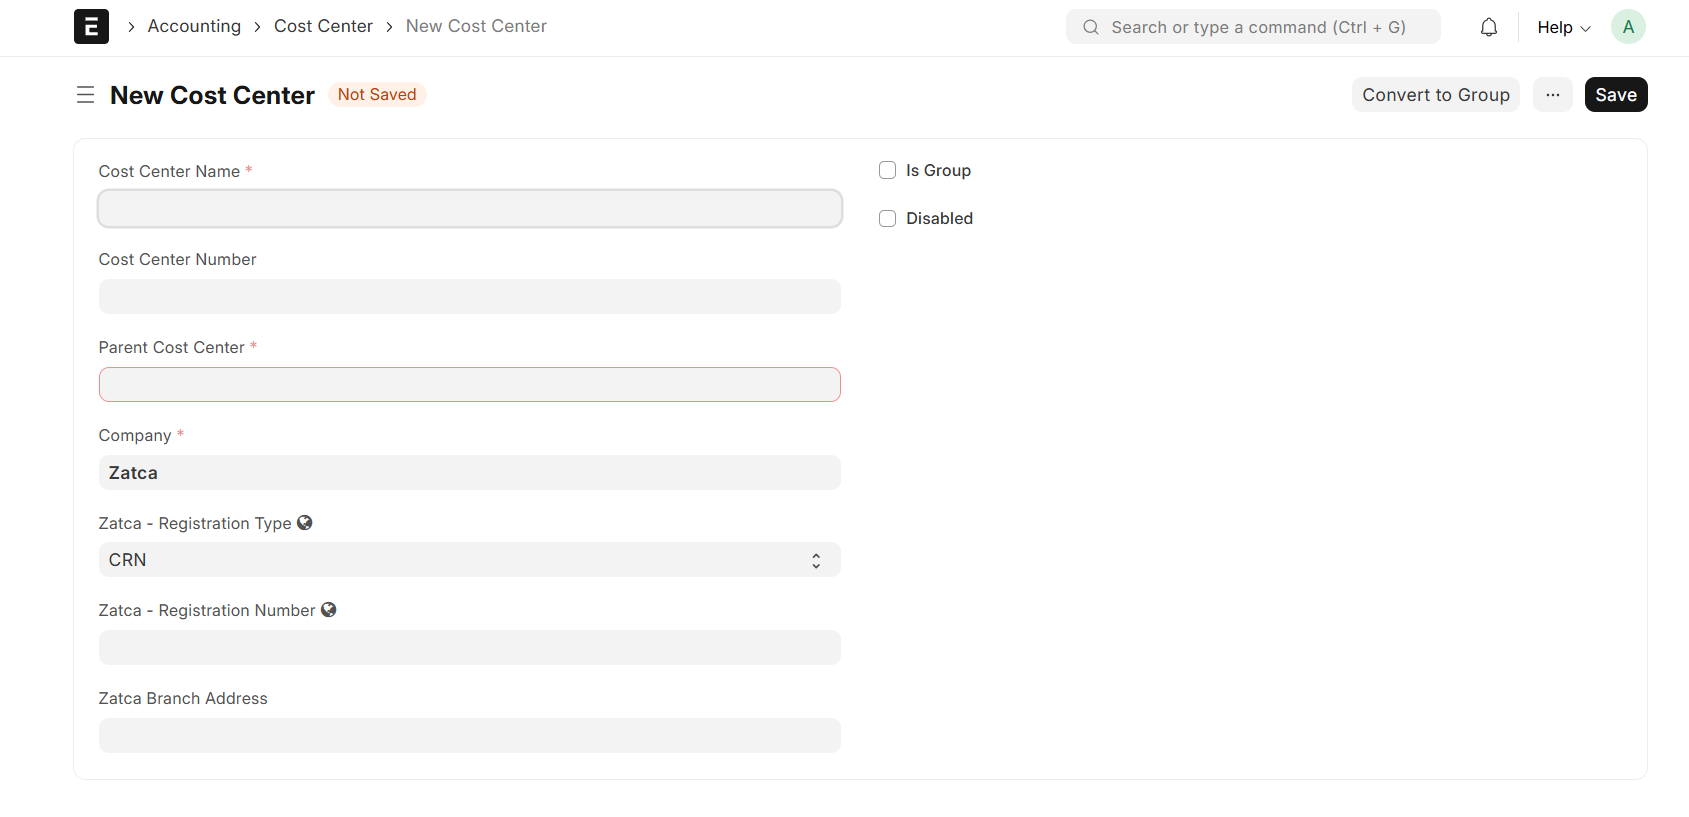
Step 1: Create a Cost Center for Each Branch
A Cost Center helps in tracking sales, income, and expenses for each branch separately.
How to do it:
- Go to: Accounts > Cost Center > New
- Fill in:
- Cost Center Name (e.g., “Dammam Branch”)
- Company Name
- Parent Cost Center (usually “Main - [Company Abbreviation]”)
- Click Save
Why?
Without a branch-specific cost center, all sales get grouped together, making it hard to track branch performance.
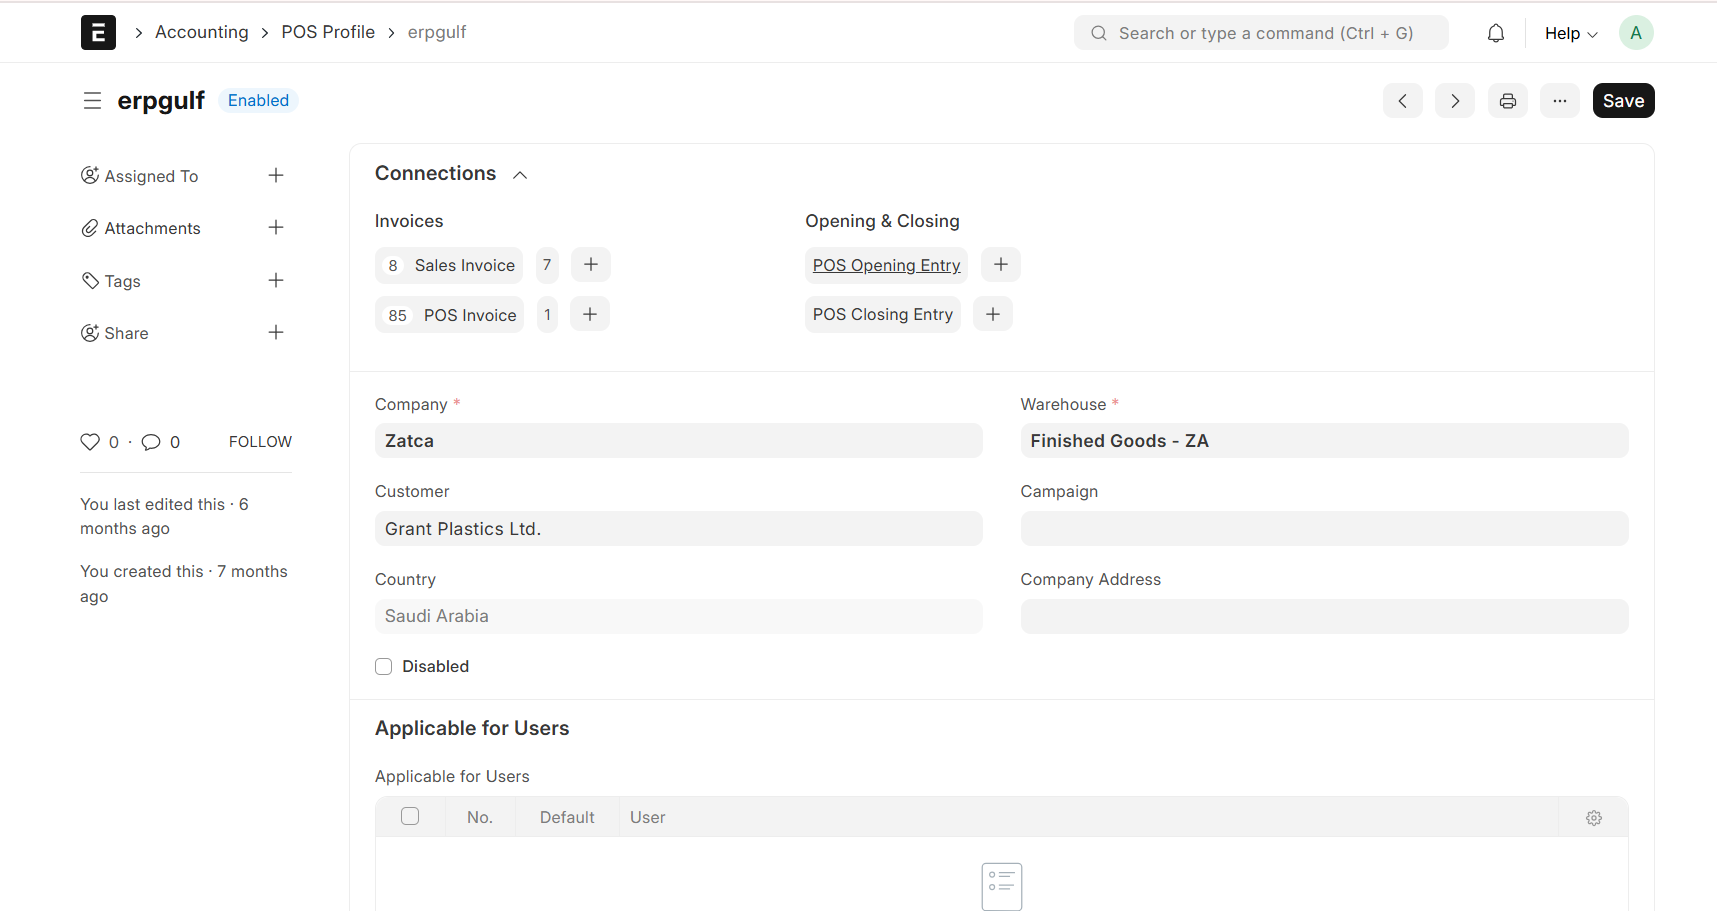
Step 2: Create POS Profile for Each Branch
Why POS Profile is Important?
The POS Profile defines the operational rules for each POS terminal or user. It controls things like which warehouse to pull stock from, what tax templates to use, whether returns are allowed, and how invoices are posted.
➨ Even if you’ve configured general POS settings, the POS Profile will override them for each cashier or terminal — so setting it up properly is essential.
How to do it:
- Go to: ERPNext > Retail > POS Profile > New
- What to Configure:
- Company
- Warehouse (specific to that branch)
- Cost Center (you just created)
- Tax Template (e.g., KSA VAT 15%)
- Income Account
- Default Customer (e.g., Walk-in Customer)
- POS Number Series (e.g., GPOS-RYD-.####)
- Enable Offline Mode
POS Profile overrides global settings and ensures each branch follows the correct tax and accounting rules.
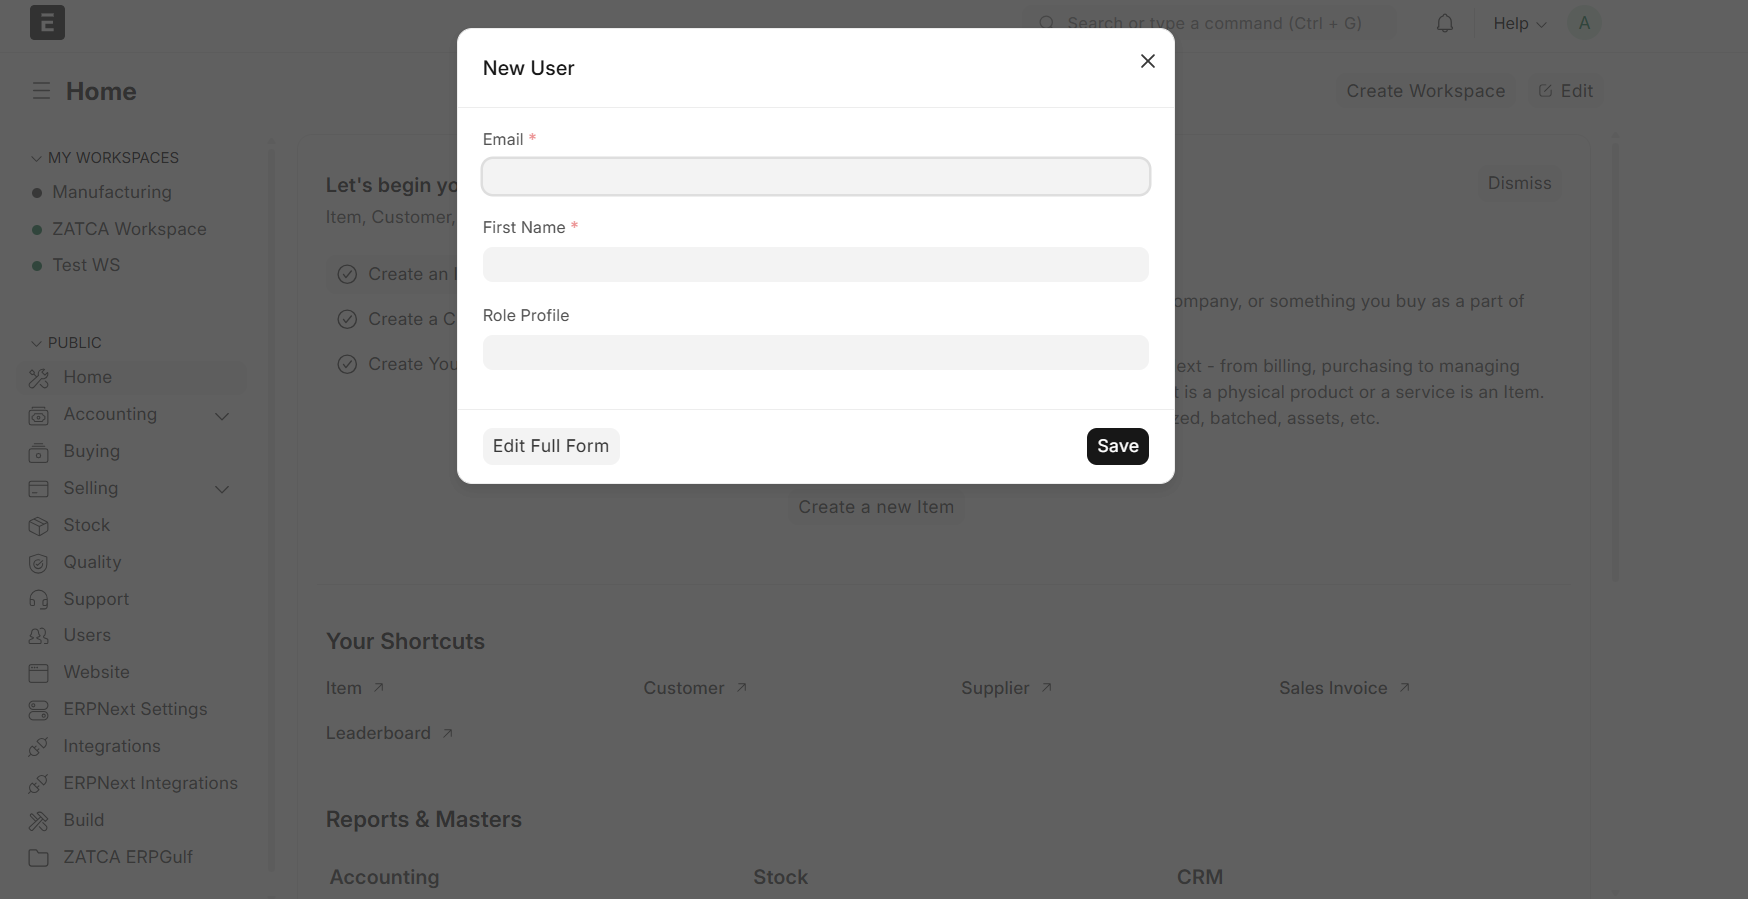
Step 3: Create User(s) for Each Branch
You need to create a user account for every cashier or sales operator who will use the POS system at the branch.
How to do it:
- Go to:Users and Permissions > User > New
- Fill in:
- Email / Username
- Assign Role: POS User
- Under POS Profile Permission:
- Assign the branch-specific POS Profile
Why?
This ensures users only access their assigned branch POS and can’t view or affect other branches’ data.
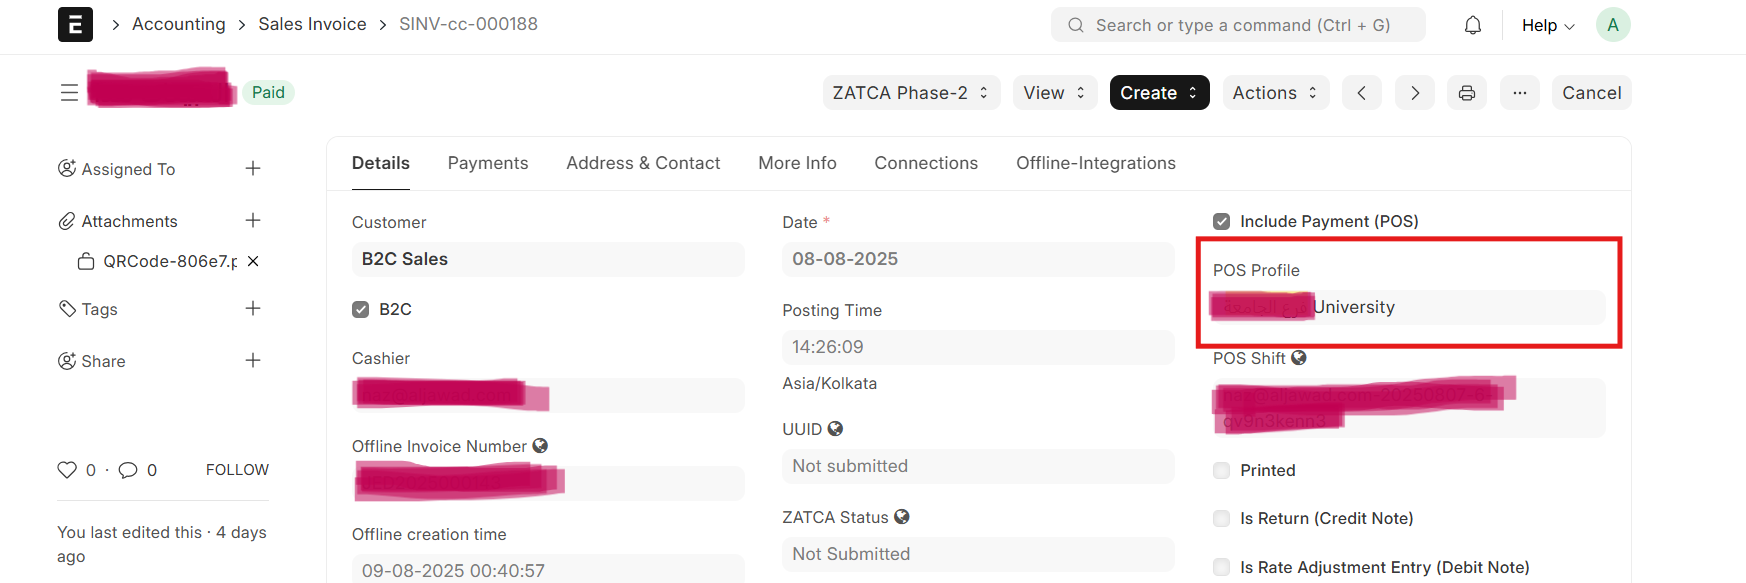
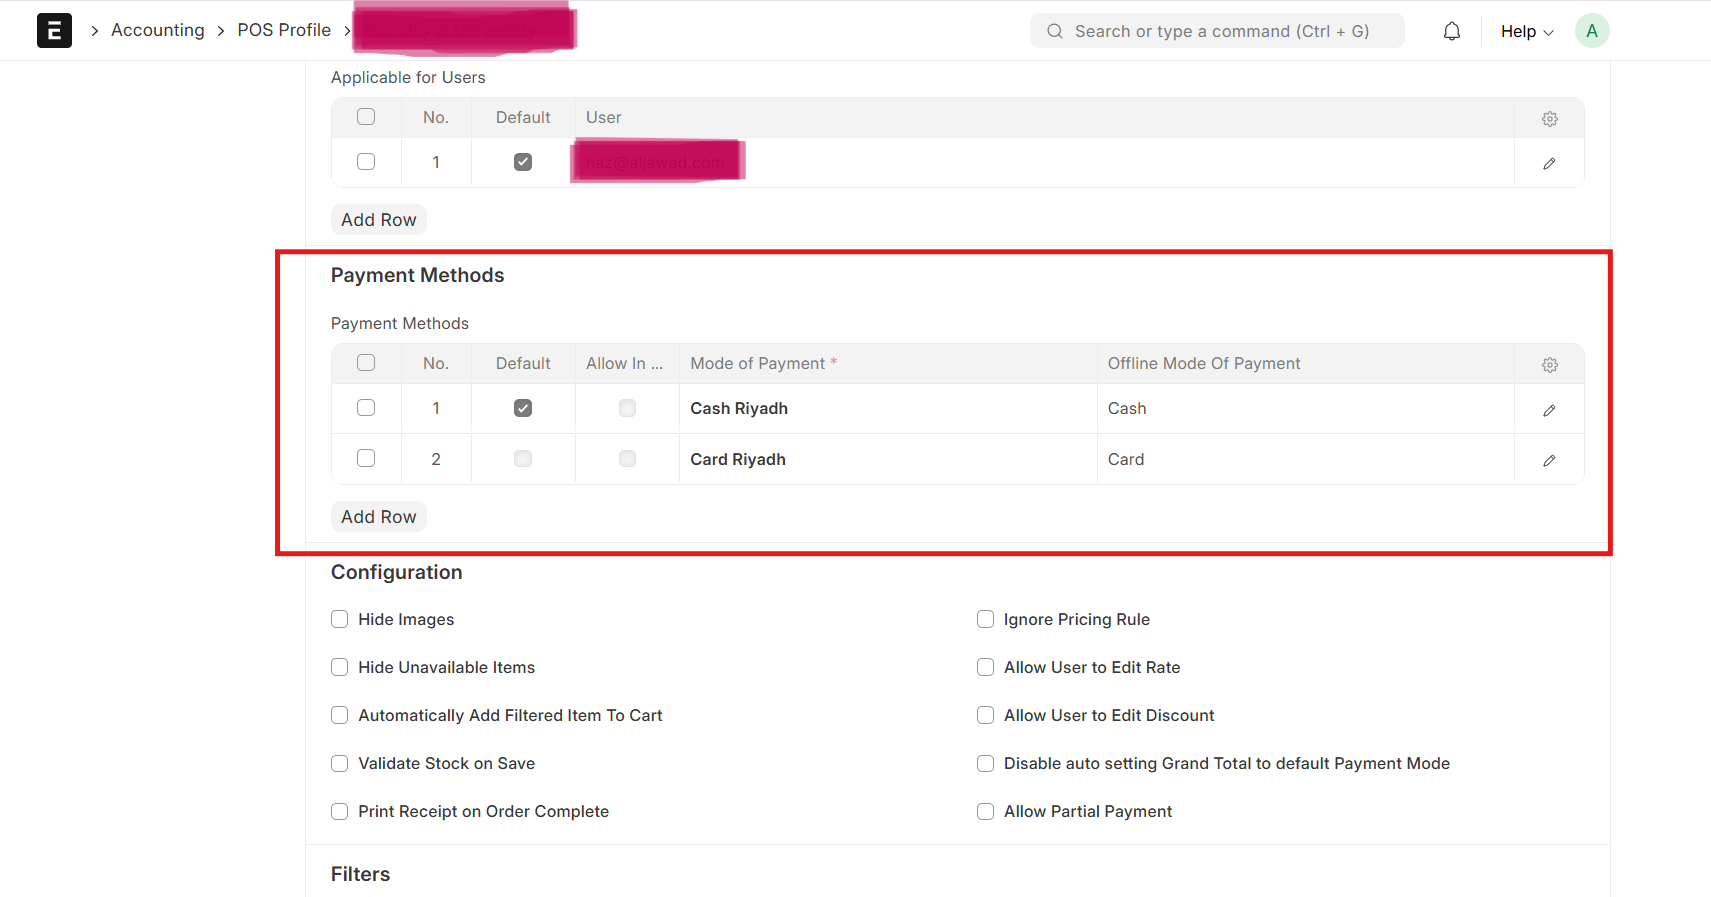
Automated Mode of Payment Linking via POS Profile
When creating a Sales Invoice and selecting a POS Profile, the system automatically
- Loads all payment modes defined in that POS profile.
- Applies branch-specific settings such as cashier details, pricing rules, and tax configurations.
This reduces manual selection and ensures correct payment mapping for ZATCA compliance.
Example Flow:
- Set in POS Profile:
- Cash Riyadh → Default
- Card Riyadh → Optional
- Create Sales Invoice:
- Select POS Profile, eg: University Branch.
- The invoice automatically fetches Cash Riyadh as the payment method (and lists others for selection).
Benefit: Saves time, avoids manual errors, and ensures consistency in billing across branches.
Step 4: Set Up a ZATCA-Compliant Print Format
ZATCA requires invoices to contain specific elements such as VAT number, CR number, QR code, invoice type, and optionally, buyer details. You must create or assign a print format that follows these rules.
How to do it:
- Go to: Print Format > New
- Choose:
- DocType: POS Invoice / Sales Invoice
- Format Type: Jinja or Custom HTML
- Include required elements:
- Seller details (VAT, CR, name)
- QR code (mandatory for Phase 2)
- Invoice total, VAT amount
- ZATCA-compliant layout
- A custom field or child table (usually named Multiple ZATCA Setting) under:
- Company
- Or Claudion POS Settings
- Branch Name / Warehouse
- Device ID or ZATCA Token
- Configuration details (e.g., serial number, QR code template, etc.)
➨ Assign this print format in the POS Profile under the “Print Format” field.
Step 5: Multiple ZATCA Settings (If Applicable)
If you're using multiple ZATCA devices or tokens (one for each branch), you'll need to maintain these separately.
Use:
What to Enter:
Why?
ZATCA Phase 2 requires device-level traceability. This setting ensures that each invoice is signed and printed through the correct branch-specific device.